Steamers are reliable appliances that keep your garments and various textiles in the home smooth, sanitized, and free from wrinkles. Whether you own a standard clothes steamer or a portable model, the heating and vaporization process can lead to the accumulation of mineral deposits and calcium. These elements may obstruct the nozzle, compromising both the steamer’s efficiency and durability. If your device starts spluttering excessively or struggles to smooth out creases, it’s a clear sign that it needs a thorough cleaning. Here’s a detailed, step-by-step cleaning guide for steamers.
Before you begin, collect the necessary cleaning supplies, including a microfiber cloth, distilled water, white vinegar, and toothpicks. Find a suitable workspace near a sink or bathtub, depending on the steamer’s size.
Equip with personal protective gear such as a mask or gloves. High temperatures and the release of heated vinegar fumes are a part of the cleaning process, so ensure the area is well-ventilated and keep the steamer’s nozzle directed away from you at all times.
While the interior cleaning is critical, equal attention should be given to the steamer’s exterior.
If the steamer has been used recently, switch it off and unplug it, allowing it to cool down before handling. Drain the water from the tank.
Dip the microfiber cloth into warm water, then wring it out and use it to wipe down the steamer’s outer surface, reaching into every nook and cranny. For more intense cleaning, take the steamer apart to tackle each element individually.
This process applies to both handheld and free-standing steamers, although the latter may require more wiping due to its larger surface area. For persistent grime, soak the microfiber cloth in white vinegar and scrub the affected area thoroughly.
If your steamer has a hose attachment, unhook it and rinse out any debris by running water through it from a faucet. For more stubborn blockages, use a garden hose for a stronger water flow.
Either allow the steamer to air-dry or use a clean microfiber cloth to dry it. If disassembled, wait until the parts are dry before reassembling and reconnecting the hose and nozzle.
By following these straightforward cleaning instructions, your steamer will soon be functioning like new.
After recent use, ensure the steamer is turned off and cooled down before pouring any remaining water from the tank down the drain.
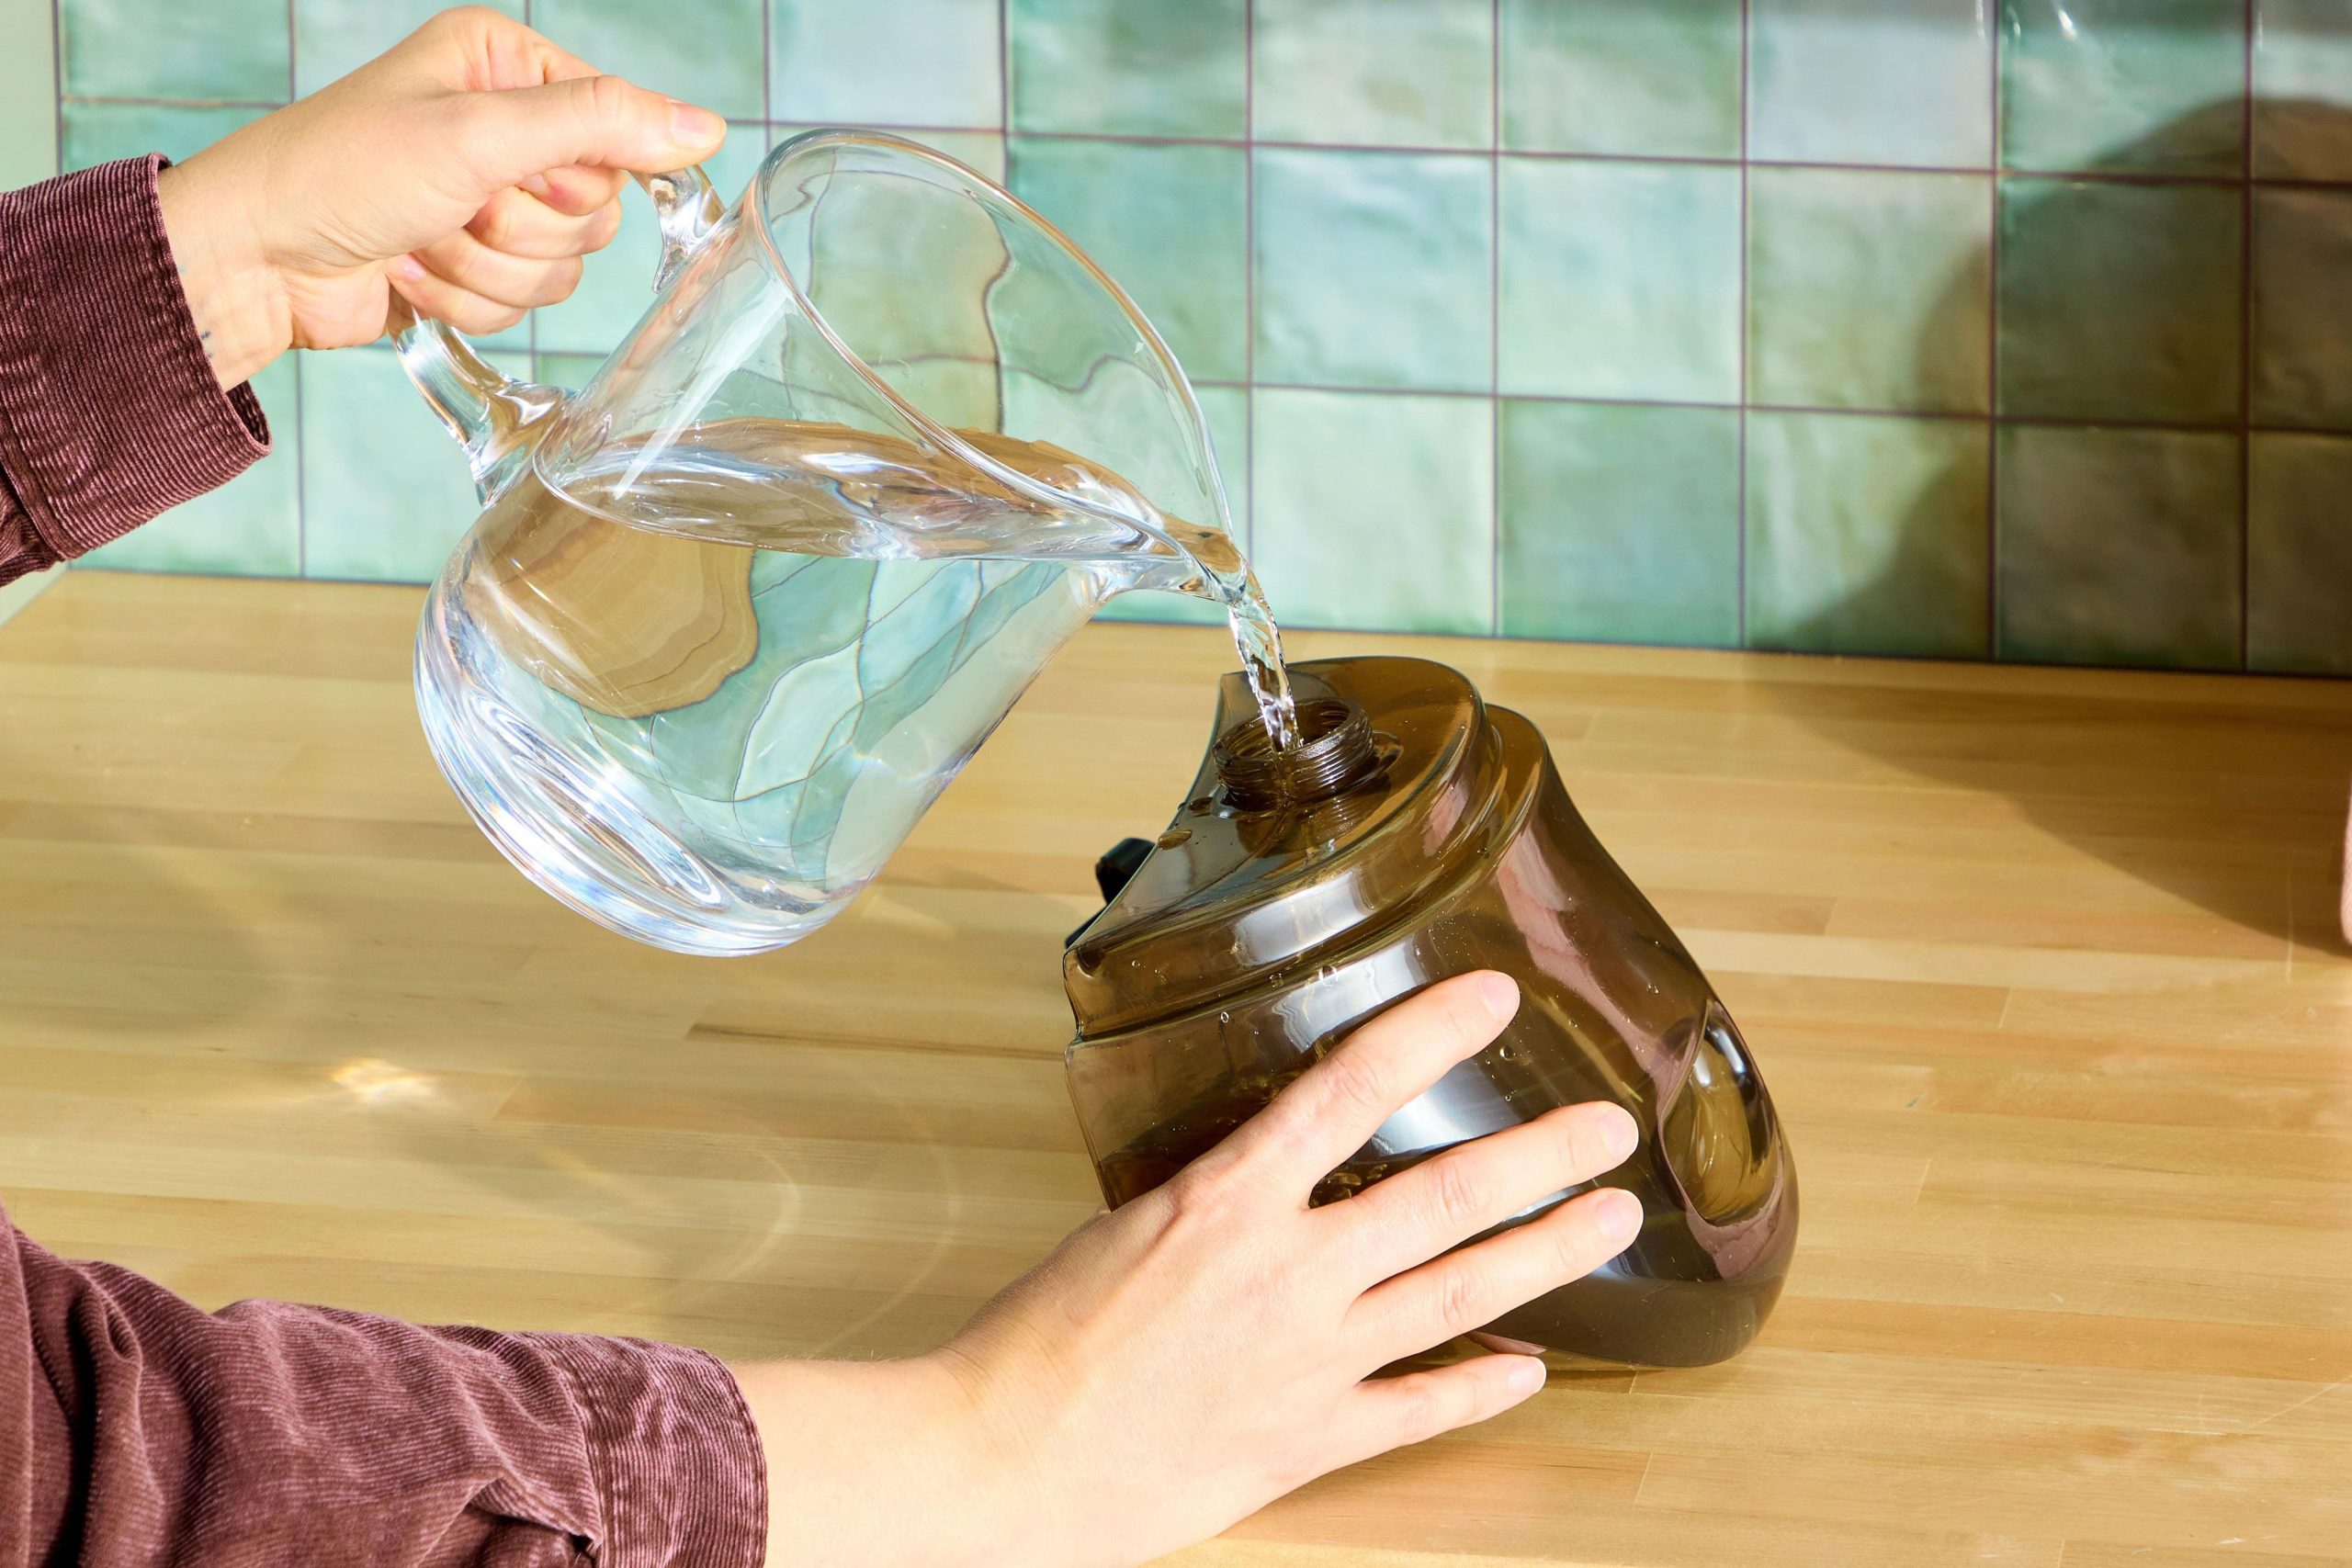
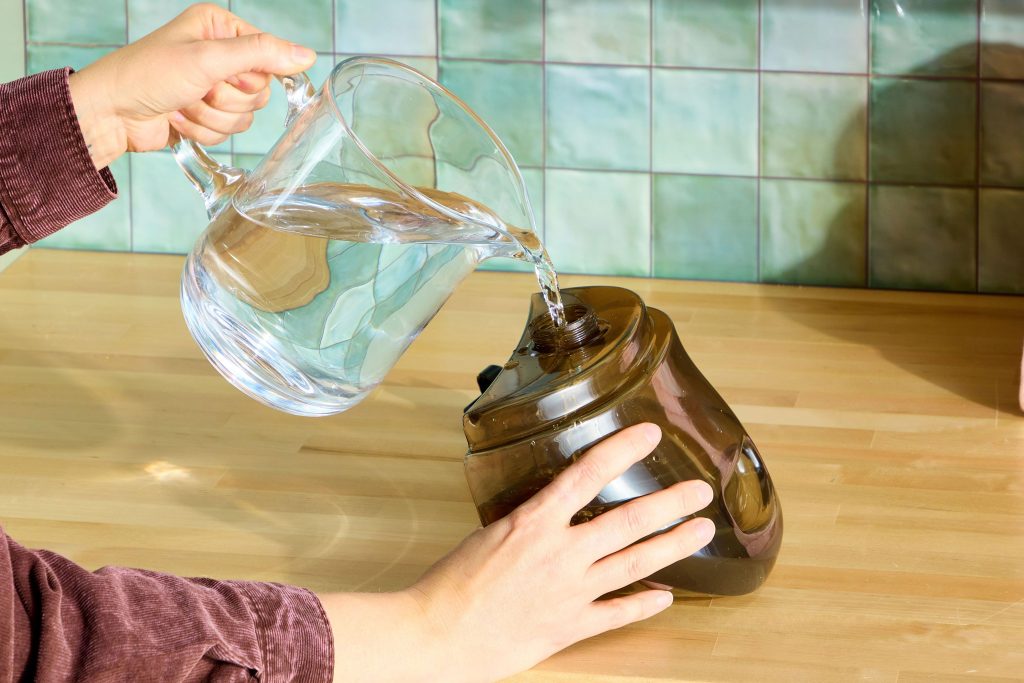
While not mandatory, using distilled water for cleaning is highly recommended. Regular tap water contains minerals that could contribute to further buildup; therefore, distilled water is better for flushing out sediments. Prepare a cleaning mixture by combining distilled water with white vinegar to dissolve any deposits. Avoid using apple cider vinegar, as it could have an adverse effect.
Prepare a cleaning mixture in a 2:1 ratio of distilled water to white vinegar. Adjust the quantities based on the steamer’s size and pour the mixture directly into the water tank. For heavy-duty cleaning to tackle extensive mineral deposits, use only distilled white vinegar in the tank.
To break down tough mineral deposits, let the vinegar or solution sit for some time. For smaller handheld steamers, leave it for 30-60 minutes, while larger steamers may require about three hours. Position the steamer on a level, stable surface to prevent any spills.
After the waiting period, plug in the steamer and turn it on, setting it to the highest temperature. Avoid tilting the steamer and direct the nozzle away from you and towards the sink or bathtub.
Once heated, release the vinegar or solution into the sink at the highest steam setting, taking care not to splash any hot vinegar. Continue until only a small amount remains in the tank, then pour the rest into the sink.
Before refilling the tank with distilled water, unplug the steamer to flush out any remaining vinegar.
Heat the distilled water to the highest setting and empty the tank into the sink to eliminate any vinegar residue.
Switch off the steamer and let it cool down. Ensure the water tank is empty, then take the steamer apart as per the manufacturer’s instructions. Dry the components with a microfiber cloth or allow them to air-dry.
Check the parts for damage or blockages while they’re drying. Replace any cracked components to prevent leaks and potential burns. Use a toothpick to clear any stubborn blockages.
Once the parts are dry and inspected, reassemble the steamer.
Regular maintenance and proper storage are essential for extending the life of your steamer. Keep the exterior wiped down and monitor for mineral deposits, cleaning daily-used steamers monthly and occasional-use ones after each session.
Consider using distilled water for steaming to prevent mineral buildup. Avoid letting the water reservoir run dry during use, and always empty the water tank afterward. Store the steamer in a dry, cool place to prevent mold growth.