Humidity can stealthily lead to the accumulation of mold in the nooks and crannies of bathrooms, particularly targeting porous areas like grout and caulking in showers. Ironically, caulking, which is supposed to act as a barrier against moisture, often attracts mold. Over time, wear and tear or shoddy initial installation can render it ineffective in keeping water at bay.
The upside is that fixing this is rather straightforward. Similar to cleaning grout, eliminating mold merely requires a few common household items. Discover how to eliminate mold from your shower’s caulking or replace it when needed, and learn to prevent its recurrence.
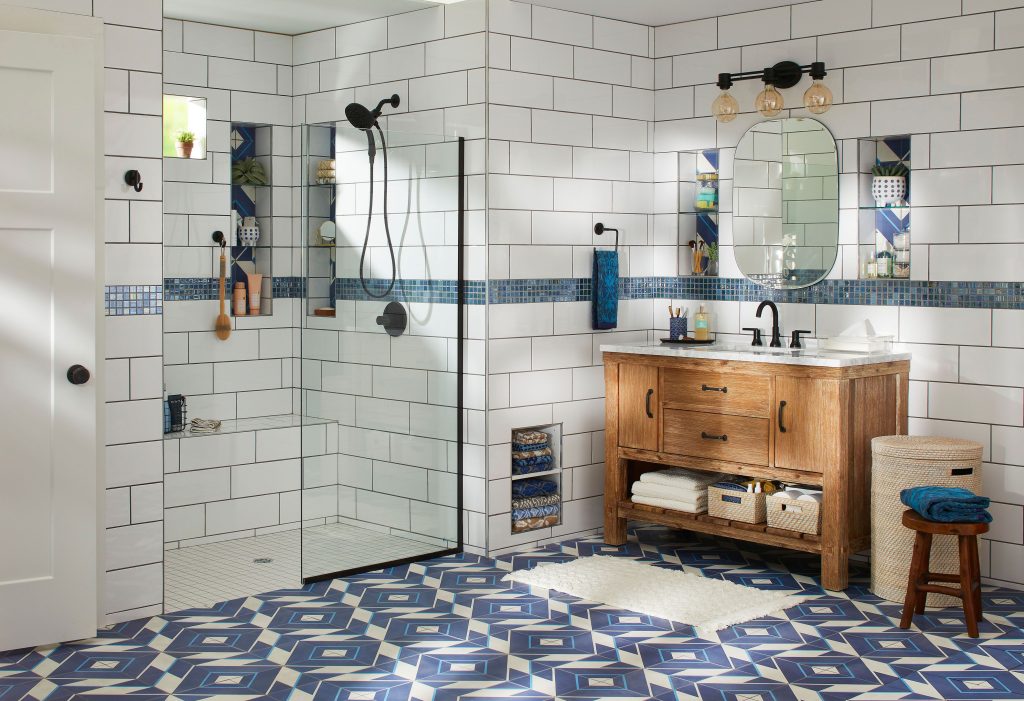
Mold is prone to thrive in any damp area of your home, which is why bathrooms, with their showers and tubs, are prime candidates for mold infestations. Several factors contribute to the issue with caulking, including prolonged exposure to moisture, soap scum, and other deposits that can feed mold growth. If you spot gaps or peeling caulking, chances are mold is lurking beneath, possibly due to the use of standard, non-moisture-resistant caulk. If you suspect this, consider swapping it out for mold-resistant alternatives with the help of our guidance below.
Two easy methods can help eliminate mold from caulking, but safety is paramount. Before you start, ensure good ventilation by turning on the exhaust fan and opening a window if possible. Wear rubber gloves, especially when handling bleach, and never combine the methods involving vinegar and bleach, as this can produce hazardous fumes.
Vinegar is a safe and effective option for silicone caulking, being one of the most successful natural mold fighters. Simply spray white vinegar on the affected areas, let it sit for at least an hour, then scrub with a soft brush and rinse. For more stubborn stains, bleach can be a potent solution. Apply a diluted bleach solution, wait for about thirty minutes, then scrub, rinse, and dry as with vinegar. If the mold persists, repeat the treatment.
Remember not to alternate between vinegar and bleach without thorough cleaning and adequate ventilation in between.
Worn-out or poorly installed caulking is a magnet for mold, and regular cleaning may not be enough to prevent spore inhalation. Complete replacement is the best course of action, but fortunately, it’s a manageable and affordable task. Remove the old caulk, clean the area, and apply new mold-resistant silicone with a caulk gun. Remember that though it may dry quickly, full curing can take up to two days for optimal waterproofing.
To reduce mold growth and cleaning time, incorporate these habits into your bathroom routine:
– Keep the shower dry between uses by squeegeeing or toweling the walls, focusing on the caulking.
– Ensure proper ventilation by checking fans and using them during showers; consider a window opening or dehumidifier for humid bathrooms.
– Clean the shower regularly, which not only prevents mold but also gives you a chance to check the caulking for cracks and address them promptly.